Every once and a while there is a situation where we need to have an Auto Number generated, but only for records that meet a certain criteria. Lets say that we use the Account Number field as our client’s identifier, and we want to automate this process of incrementing it one every time we have a new client. There are a few different ways that we can solve this, but we’re going to use Visual Flow.
Automation Overview:
- Account Meets Criteria – Process Builder triggered (Pass inputs into Visual Flow)
- Custom Object Record with Auto Number created in Flow
- Lookup value of Auto Number
- Update the Account
For this solution we have three different options in how we can do it architecturally (with our Auto Number):
- Custom Object
- Custom Metadata
- Custom Settings
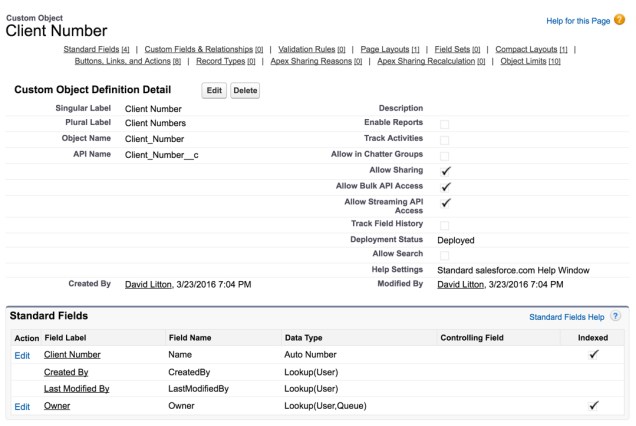
For me, I am going to go with using a Custom Object. I think that it is the easiest option of the three to implement, and most Salesforce Admins can relate to Custom Objects more than the other two options. So, what fields do we need create in this Custom Object? None! We just need to make sure we set the Name to be an Auto Number.
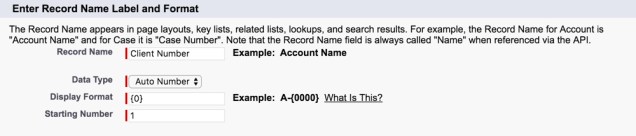
HINT: If you ever need to reset the number, you can switch the Name field to Text and then back to an Auto Number and it will let you pick the Starting Number again.
Here is what our finalized Object looks like:
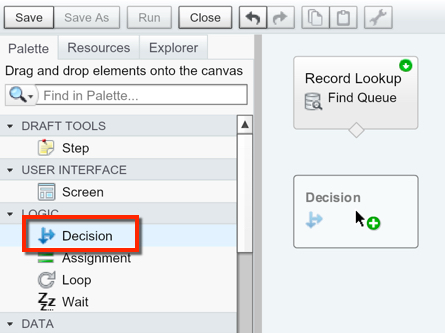
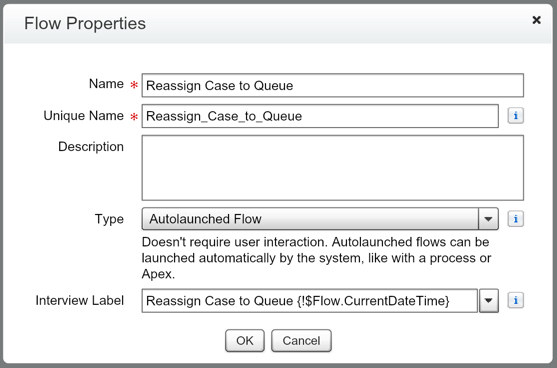
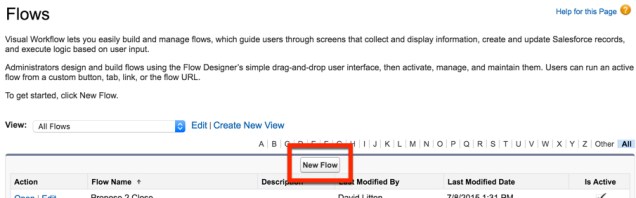
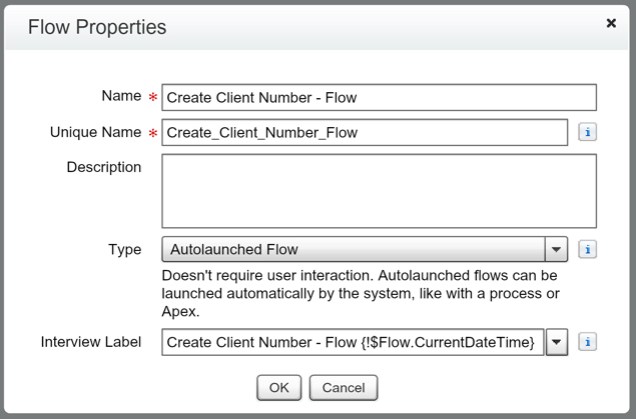
Now that we have our Object ready, we can go create our Flow (Setup | Create | Workflows & Approvals | Flows).
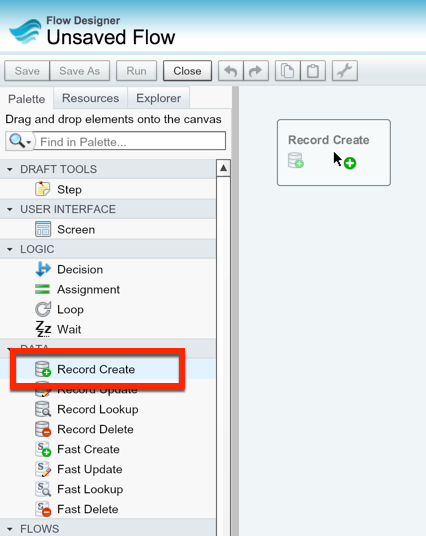
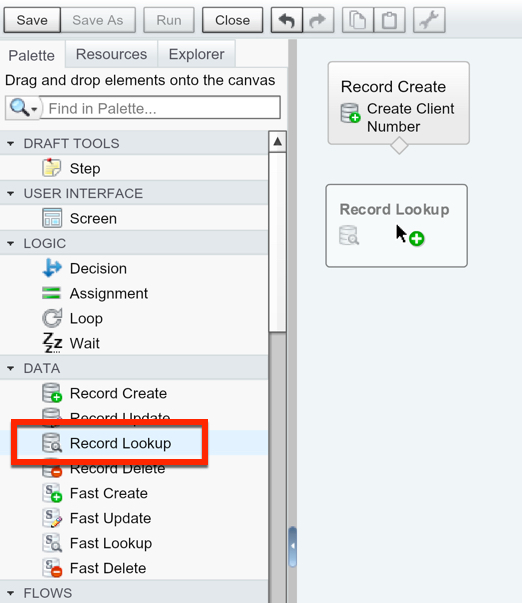
The first step is going to be grabbing our Record Create.
We want to select the Client Number Object that we just created, and then remove the row asking us to set a field value.

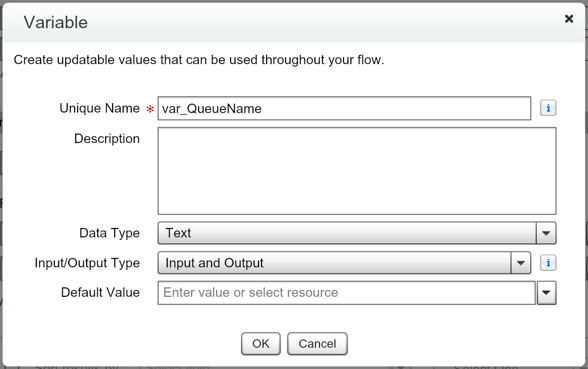
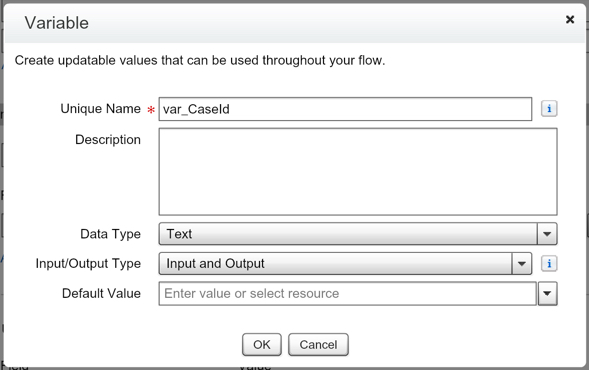
Now, we want to create a variable to house the Record Id.

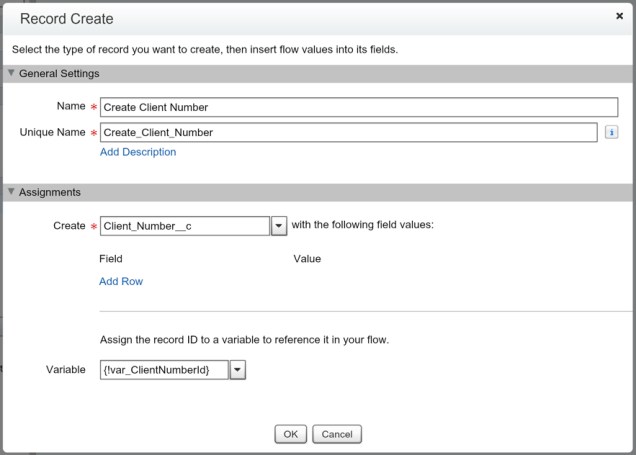
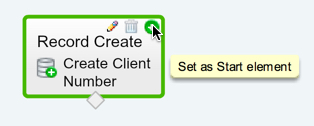
Hit OK, and then we want to set this as our Starting Element.
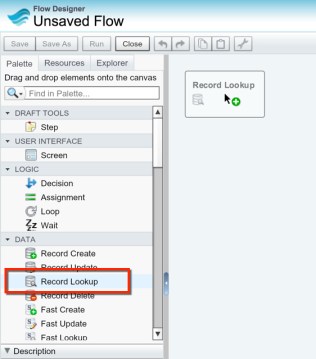
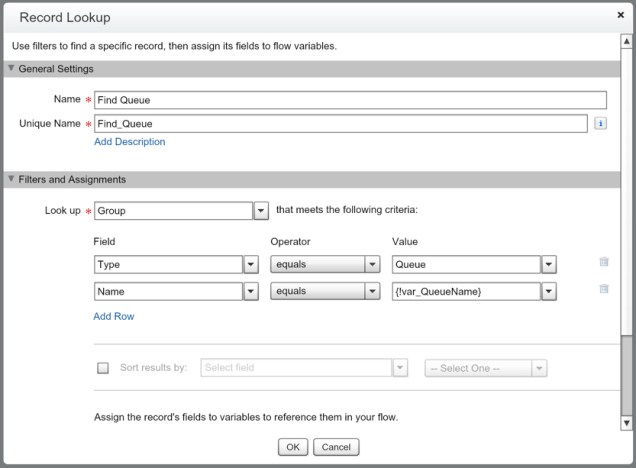
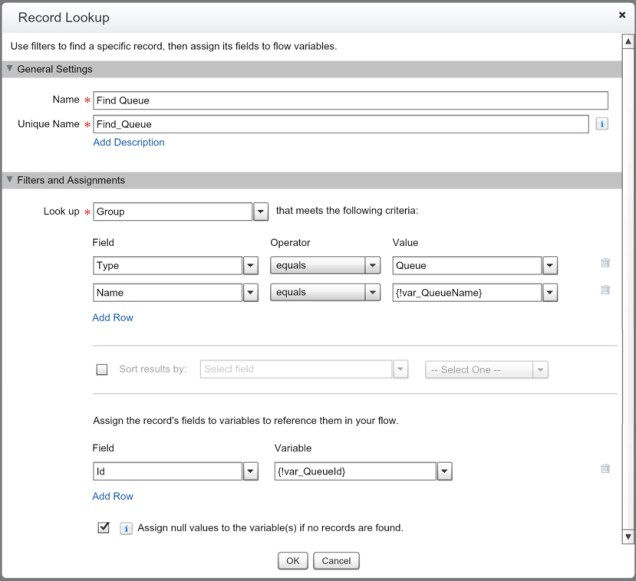
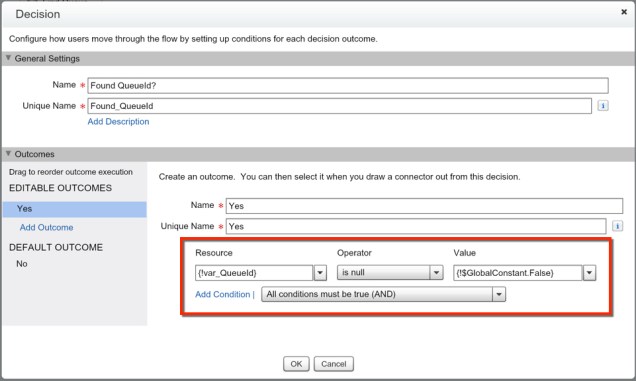
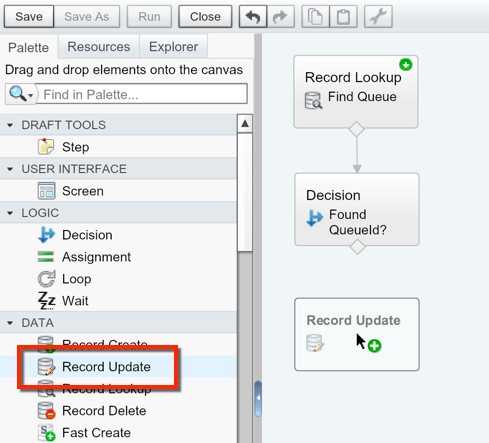
Now, we want to grab a Record Lookup and find the Name (Auto Number) of the record we just created.
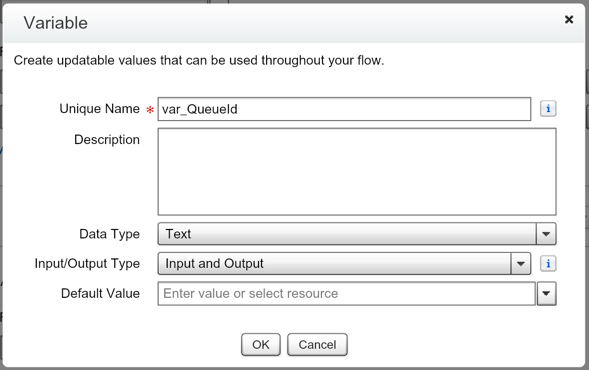
We are going to need to create a variable to store the Auto Number value that we will then Update our Account with.


Hit OK. And now drag out the Record Update element.
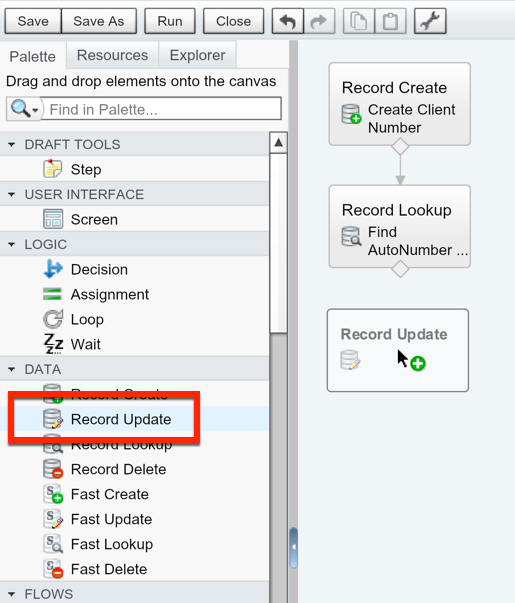
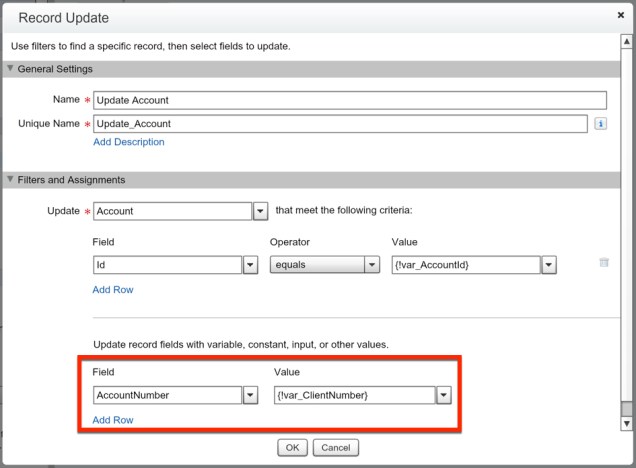
We will be passing into our Flow the Account Id value, and we will want to use that here to filter on our Record Update. So we need to create the variable to store that.

Map the Client Number to the Account Number field, and hit OK.
Connect the elements together to finish our Flow.

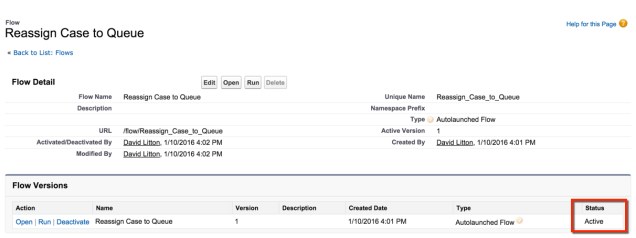
And lastly we want to Save and then Activate our Flow!

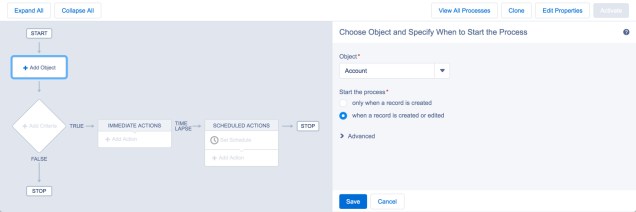
Fantastic! Now we need to setup our Process Builder that fires this Flow. So lets go create a new Process Builder for this. (Setup | Create | Workflows & Approvals | Process Builder)

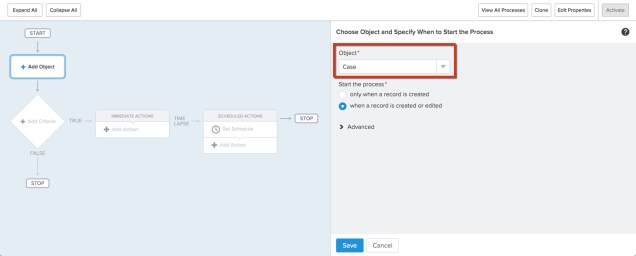
We want the Process Builder to fire on our Account, so for our object select Account, and for starting the process select when a record is created or edited.
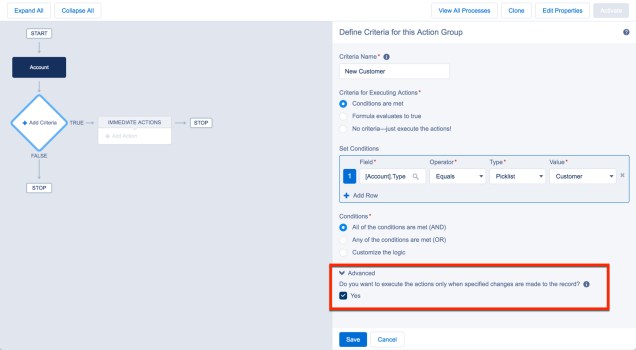
This next step is completely on you for when the record meets the criteria. For my example we will just use when the Type is now a Customer. Careful with the Advanced section at the bottom, you aren’t going to want your Process Builder to fire more than once per Account!
Now we get to setup our Immediate Action of launching a Flow. All we need to do is pass in our Account Id.

Hit Save, and then hit Activate up in the top right corner… and you’re done!


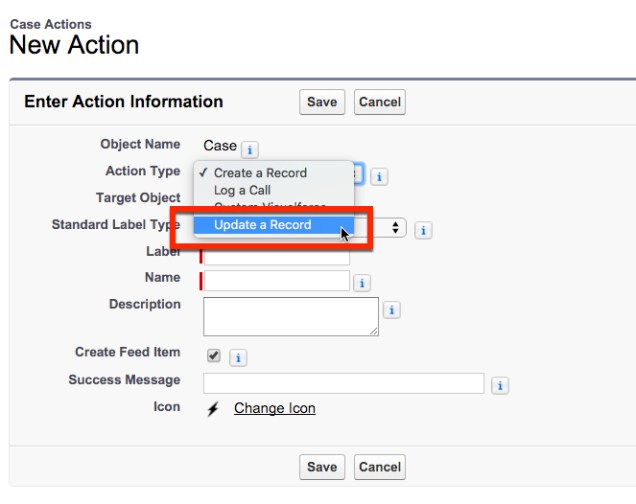


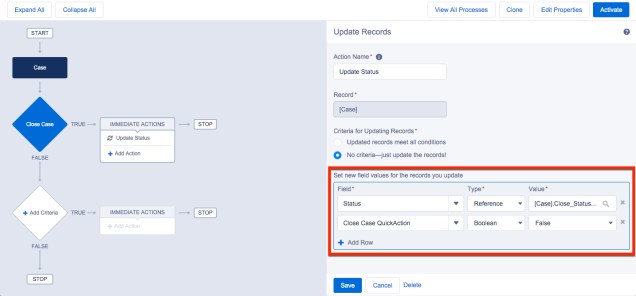


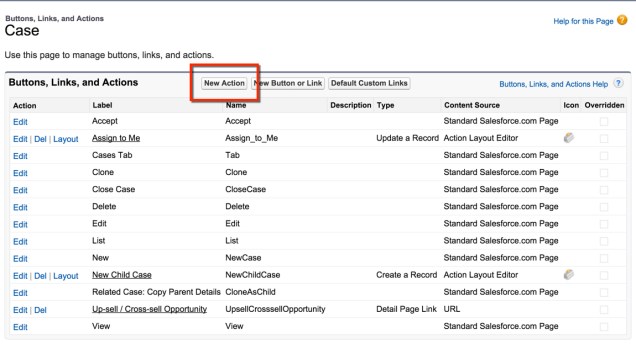 For this Action we are going to be doing a Record Update. This is because we are going to be updating one of the Assign to fields we created at the beginning.