With the launch of Lightning Experience, Salesforce also pushed heavily to produce some amazing new documentation on customizing inside of Lighting Experience. If you haven’t heard of http://www.LightningDesignSystem.com, prepare to have your mind blown! If you are not a developer you might think that it doesn’t have anything for you, but you’d be wrong. Lets take a look at an overview of what you can find on the Lightning Design System site, and then how an Admin can make use of it!
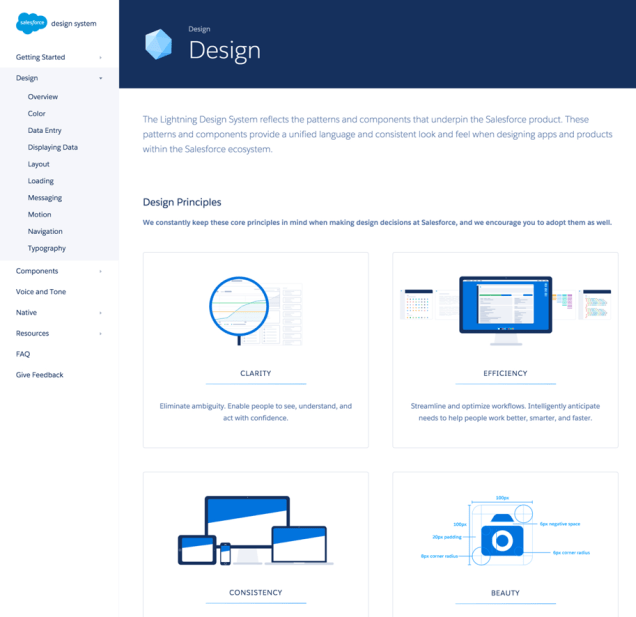
Design Principles
This is a nice overview of the concepts behind creating a beautiful finished product. Think about these as you’re developing your App. Even if you’re not building a Lightning Component this applies to creating a clean and readable Page Layout as an Admin.
Components
This is a great way for you to get some boilerplates for Lightning Components if you’re interested in going down that track. This has all of the code you’ll need to get started with customizing the look and feel of any Lightning Components you are building.
Voice and Tone
This provides you with examples of how your communication to the End User should be written. If you’re ever confused and want examples on how you might word a help bubble or something similar, take a look here for some great examples!
Native
As of this post, this is currently just iOS, but provides you information on how to integrate the Lightning Design system with your native iOS applications.
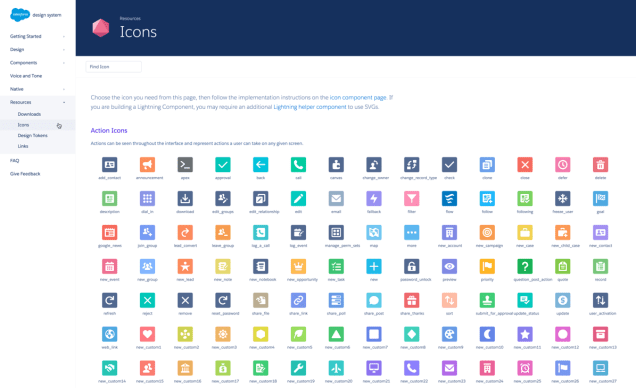
Resources
Here is where I live. As someone who isn’t writing Lightning Components from scratch everyday, what am I doing on this site so often? Its simple! I’m looking at all the Icons… there are a TON! They give me a good idea of what I might be able to use for my Clients custom Actions.
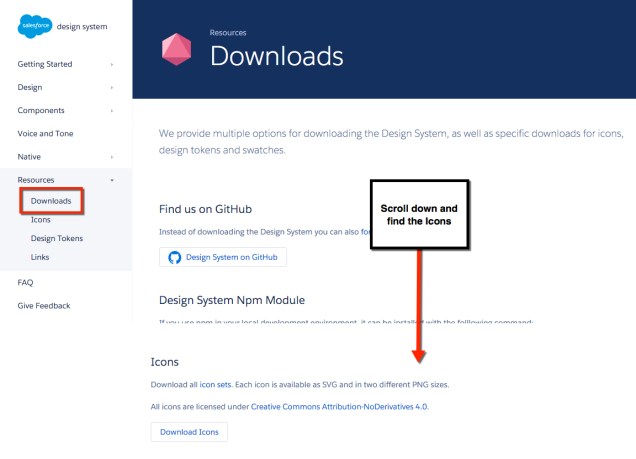
If you notice right above the Icons section is a Downloads section. We’re able to install the Zip into our Org (as a Static Resource), which is great if you’re using Lightning Components. However, if we’re looking to use these for an Action we will have to create our own and import them as a Static Resource. So lets walk through that!
Download the Icons
Open up the Zip file and find the Icon you want to use (notice the name on the site is the same as the file name).
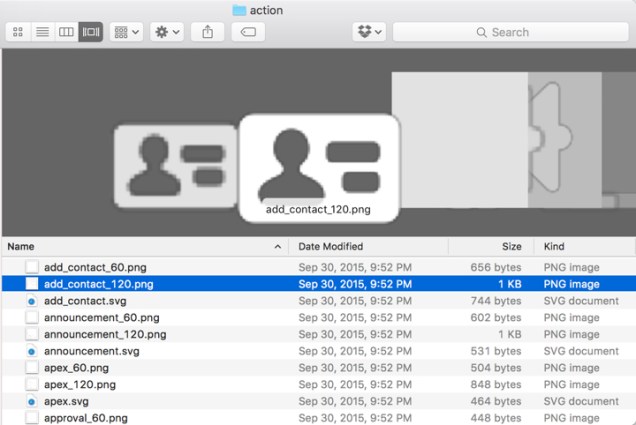
Use an image editing software that has a paint bucket for you. I personally use Photoshop, but really anything will do! Customize the Icon to whatever crazy color scheme you want!


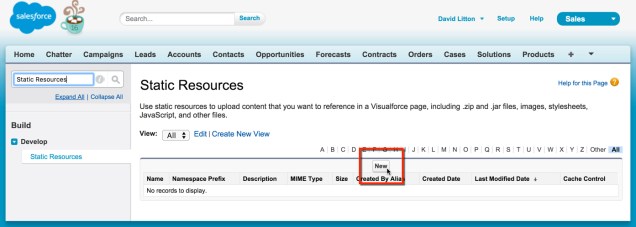
Now you just need to upload to Salesforce as a Static Resource.
Make sure you mark it as Public if you want others to be able to see it.
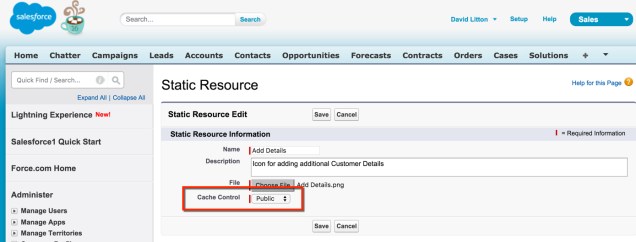
And now you’re ready to put it in your Action! Just like that you’ll be able to make your Org look extra slick!

2 thoughts on “Using Lightning Design System to improve your Salesforce1 Actions”