We’ve all run into limitations around sending emails from Salesforce. Whether we wanted to send it to a group of Contacts or Leads, or that we wanted it to be ‘saved’ to the Account so people could know it was actually sent. Using the Send Email Static Action inside of Visual Flow, we can actually hack some pretty cool email features! Lets discuss a few:
Email Message in Task
This is my number one reason for doing an email through Flow. I am able to put the exact Body of my outbound email on a Task, associate the Task to the Contact/Lead I just sent it to. The fields are merged properly, and the Task description makes sense because of that when I open it up.
Send to Multiple Contacts/Leads
You can either send each Contact or Lead its own email, or you can send out an email to multiple recipients. Be aware, there is a limit of 5 email addresses. You can’t send out huge group emails with this action. I’ve setup some ‘automated email alerts’ to blast Leads using a Loop and inside the Loop sending out an individualized Email. The cool thing about non-Data Elements in Flow is they don’t count towards your limits.
Reference multiple Objects
Sometimes an Email Alert doesn’t quite cut it, because you’re dealing with multiple Objects that don’t directly relate. There are great ways to get around this (like using an Email field), but if you’re already using customization with a Flow it is often times easier to just add it in as a Static Action.
Unhandled Fault Messages
Send out your Unhandled Faults Messages to your team’s distribution list!
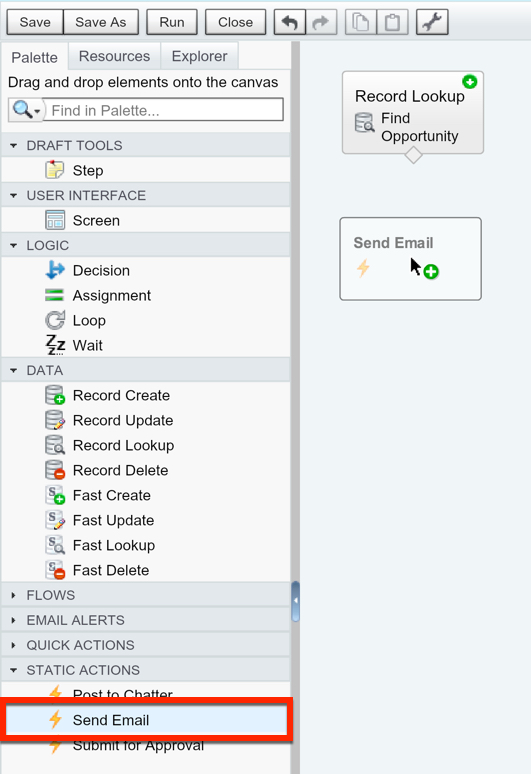
With out further ado, lets get started! Depending on how many Flows, Quick Actions, and Email Alerts you have in your Salesforce, you might not notice the Static Actions section at the bottom of your Palette. In here you’ll find a list of all three Static Actions. We are going to be using Submit for Approval.
Great, we found our Send Email, so lets drag it onto our Flow’s Canvas.
We’re given a default screen that is only requiring us to put in a Body and Subject… we’re missing something, right?
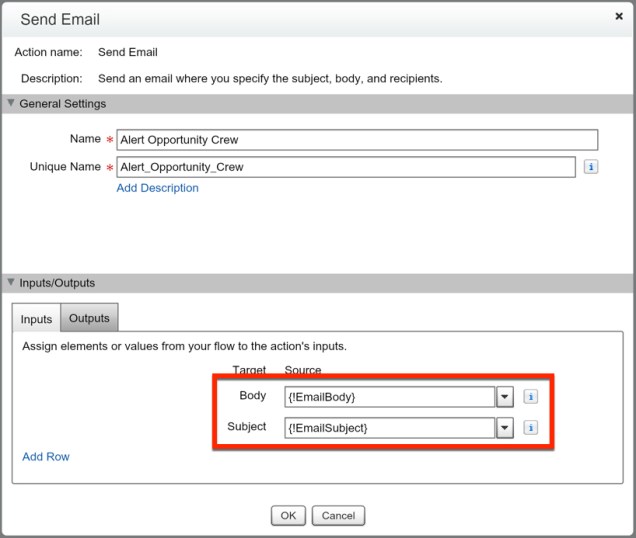
Yep! Who is getting this email?! And Who is sending it?!

So, lets take a look at what those these parameters are:
- Email Addresses (collection)
- Recipients of the email, accepts string values that are comma-separated.
- Email Addresses (comma-separated)
- Recipients of the email, accepts string values that are comma-separated.
- Sender Address
- Required only if you select OrgWideEmailAddress
- This is the actual Email Address you want it to be sent from.
- Sender Type
- Determine who is sending the email… no Picklist of options for you to choose, but they are listed here.
- CurrentUser
- The Running User (whoever triggered the Flow)
- DefaultWorkflowUser
- The Email associated to whoever is setup as your Default Workflow User
- OrgWideEmailAddress
- If you want to send it from any organization-wide Email Address.
- CurrentUser
- Determine who is sending the email… no Picklist of options for you to choose, but they are listed here.
Some additional notes:
- You can use both types of Email Address formats, you just can’t go over 5 total recipients.
- Current User is the DEFAULT Sender Type.
- Text Templates are how you want to build your Email Body and Subject. You don’t want to use the Rich Text Editor at this time, as it doesn’t translate very well outside of Flow.
So, what happens when we take a look at the Outputs tab? Nothing, there are no Output options.
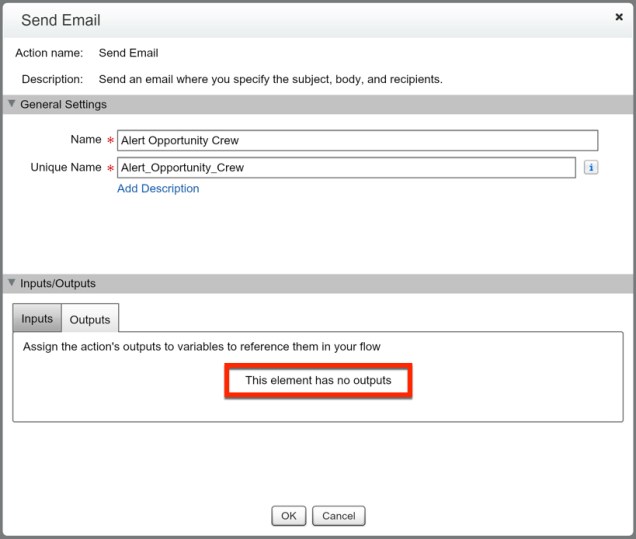
All that is left for you to do is hit OK and map that Send Email element correctly in your Flow.
For a quick summary, Send Email inside of Visual Flow is an often underrated tool. You can send one off emails to any email address you want. One of my favorite uses is creating a Task that matches your Email and is correctly assigned to the Lead or Contact. Because it is a Static Action, it doesn’t count towards any limits. Just keep in mind the Sender Type limitations if you’re deciding to setup some sort of Email Automation.
