We all have seen how much love Salesforce1 has gotten ever since its release. Now that Salesforce got Publisher Actions usable, people expect everything to be available in Salesforce1. However, sometimes that isn’t exactly the case. If you just created an awesome Flow, you might be want to know how to make it available for all of your fantastic users of Salesforce1.
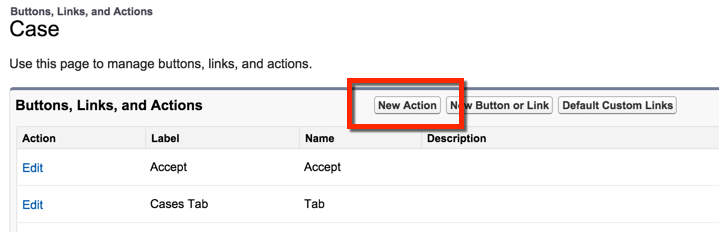
So lets take a quick look at the Publisher Actions to see how a Flow might fit inside one. To do this, lets navigate to our Case Actions (Setup | Customize | Cases | Buttons, Links, and Actions | New Action).
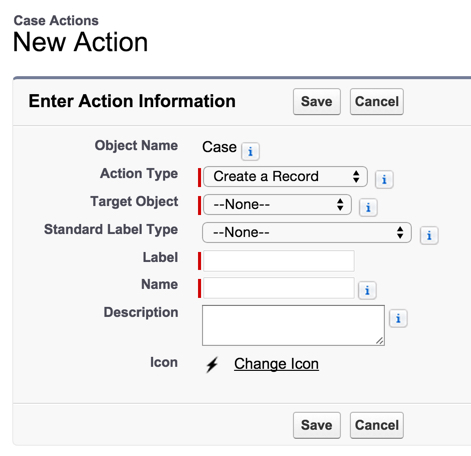
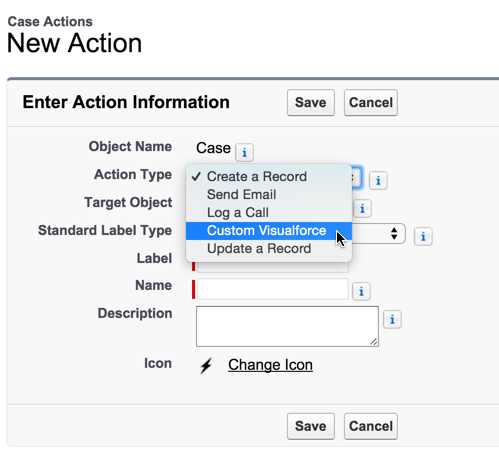
Great, now lets take a look at the different ‘Action Types’ that we have available to use. We see we can Create a Record, Send an Email, Log a Call, Go to a Custom Visualforce Page, and Update a Record. If you’ve already read my blog on embedding a Flow in a Visualforce Page (and not just using a Button URL to launch), then I have a feeling you already know the answer to this!
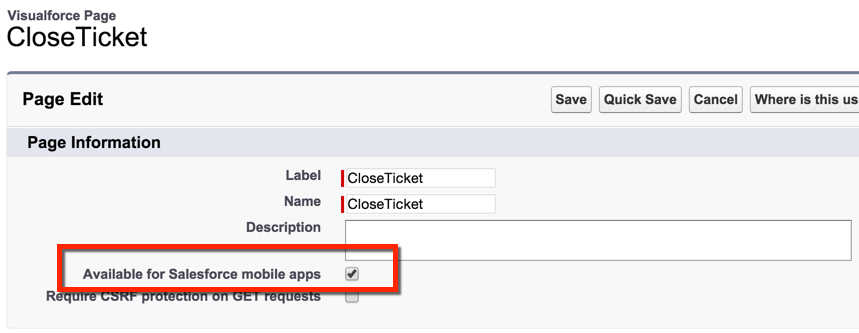
Before we move on, your next step (if you haven’t already) is to go create a Visualforce Page to embed your Flow. So, if you didn’t read my post yet and you don’t know how to make your Flow accessible in a Visualforce Page, then you need to go study up real quick! After you have embedded the Flow, you need to verify that your Visualforce Page is ‘Available for Salesforce mobile apps’. Without this, it won’t be able to see your Action Salesforce1. This might also be a chance for you to double-check that your Security for the Page includes all Profiles that will need to use this Action.
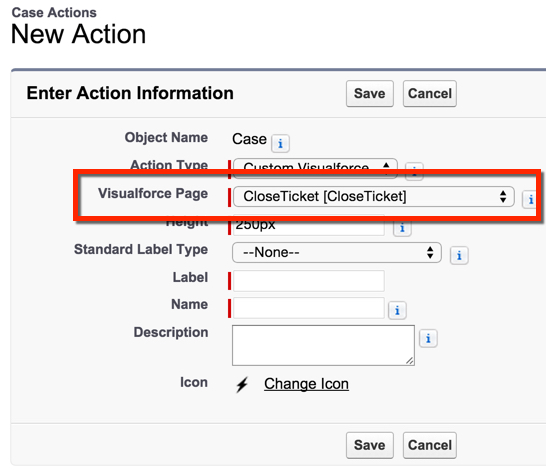
We know we want to select “Custom Visualforce” as our option for the ‘Action Type’, and we already have our Visualforce Page mobile ready. So lets build out this Action!
Once you do this, your ‘fields’ to fill out will switch to the ones for Custom Visualforce. You need to select the Visualforce Page that you want your Action to call. As you saw in my earlier screenshot, I’ll be looking for a Visualforce Page called “CloseTicket”.
Now all that is required is to set the Label, Description (if you have one), and possibly change the Icon. So lets do that really quick!
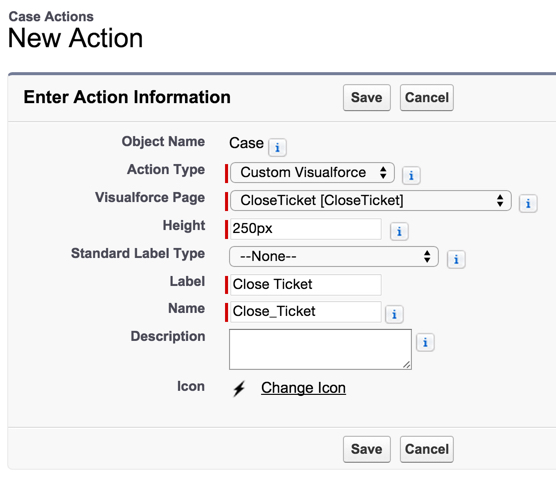
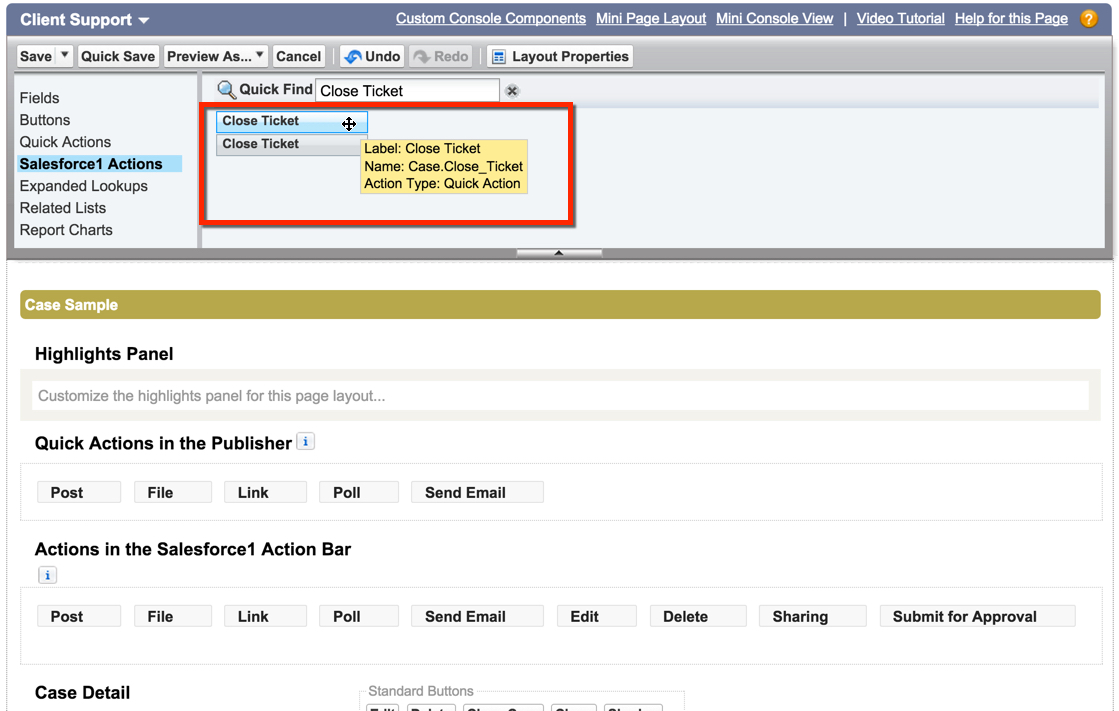
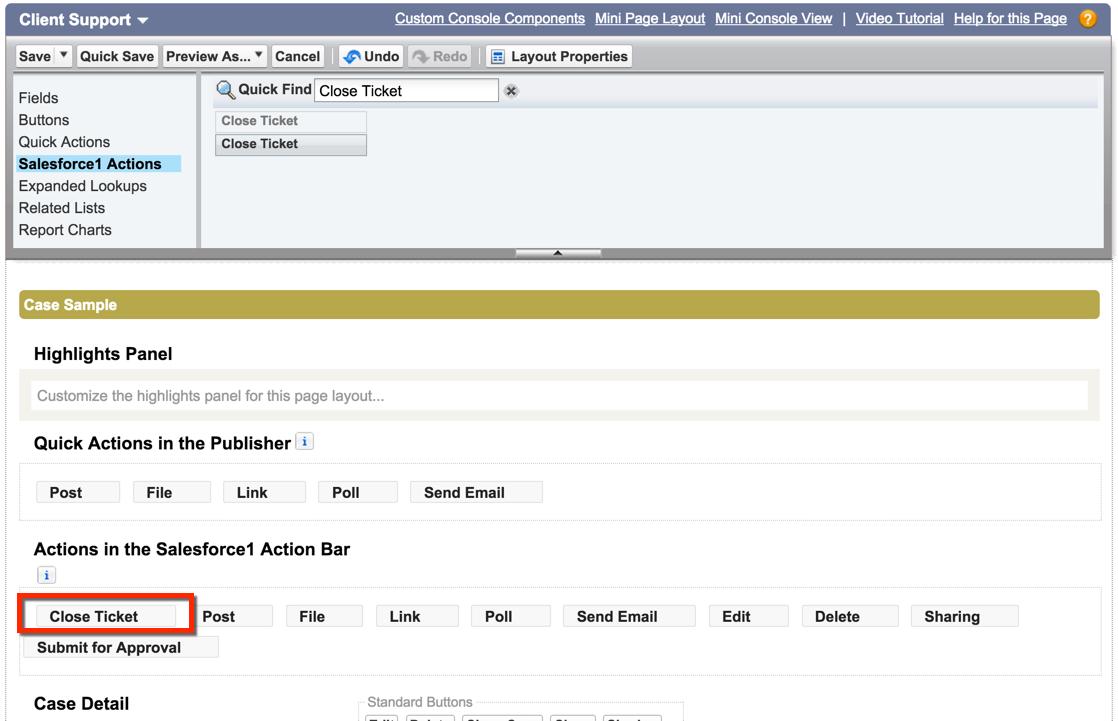
Now, lets hit Save and navigate to our Page Layout to go drag our Action in!
Login to your Salesforce1 app and test it out! Open up a record that has the Page Layout we just updated, and lets look for our Action.

Now, if we click the “…” or “show more” action, we can actually see the Action’s Label, this lets us know we are clicking the right Action! Test it out and make sure it is working to your liking! Sometimes the UI isn’t as pretty, as you’d like, but its a quick way to get that Flow onto your Salesforce1.
RECAP: Flow in Salesforce1 is actually quite straight forward if you already have a Visualforce Page built for your Flow. You just need to make sure your Visualforce Page has mobile enabled and is available to the Profile of the users that will use it. After you add the Action you created, all you need to do is drag it to your Page Layout(s) and enjoy your hard work with a nice Chai Latte (or your choice of poison).

Any tips on how to set a mobile friendly FinishLocation?
LikeLike
Julianne, there are some nice tips inside of the sf1 dev cheat sheet: http://res.cloudinary.com/hy4kyit2a/image/upload/s1_dev_cheatsheet_cheatsheet.pdf
It is on my roadmap to have a post on this, but I am looking to see how the new beta release for Flow from Summer ’16 to work in Lightning and Salesforce1 will shape out (still need to get my hands on it).
LikeLike
With the lastest Releases it’s even more simple to embed a Flow. Just create your own Lightning-App and embed the flow on the Site.
LikeLike
Yep! I’ll be adding a new post – or updating this in the near future. Thanks for the reminder 🙂
LikeLike