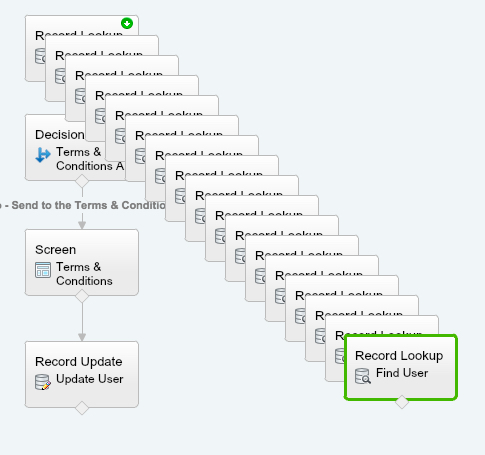
Now that we can find and manage a Flow, lets learn about the Flow Designer and Canvas. The Flow Designer is where you go to build your Flow. A Flow’s Canvas is just like a blank white Canvas for you to paint your Flow on. This is where the your Flow truly becomes a work of art. Take the shrink wrap off and get started!
The first thing you notice is the Button Bar. This has all of your main actions associated to the Flow. We will dive into some of these actions in more detail shortly.
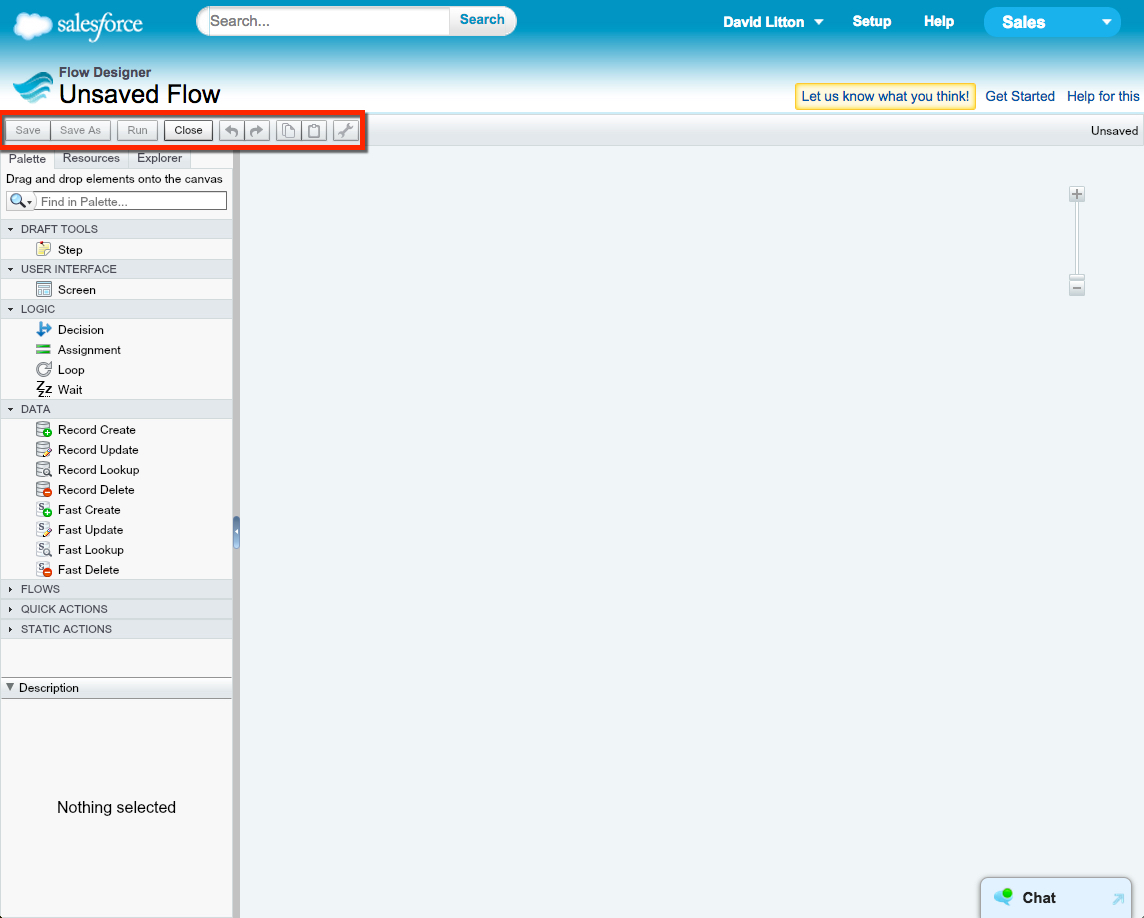
In the top right corner you have your Flow’s status. Keep this in mind. If you are changing an Active Flow, you will need to use the Save As button to save your updates.
Below the Button Bar is the Flow Palette. This is where you can drag into your canvas the elements that you want for your Flow. Notice, you can even pull in other Flows, Quick Actions, and Static Actions into your Flow from the Palette!
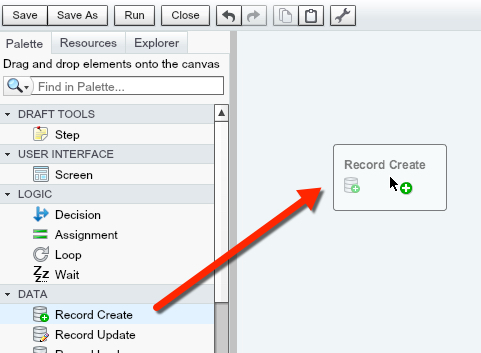
To add an element to your Canvas from the Palette, simply drag and drop!
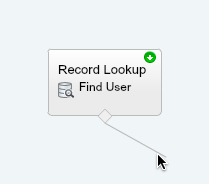
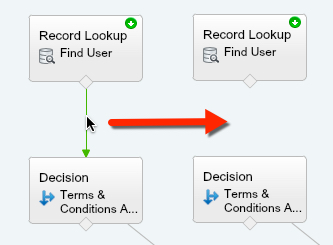
After you have added an element to your Canvas, you can now grab the button of that element to connect it to another element!
If you realize that you have a connection that is not correct, you can select the connection and press Delete to have the connection removed. Tip: You can also delete multiple selected elements at once using the Delete key.
As you begin working on building your Flow, there is a high chance that you will make a mistake. Thankfully Salesforce has included the Undo and Redo buttons for us to use.

One feature that really I enjoy using is the Copy and Paste buttons! You can go crazy with it. Sometimes this can really be a time saver. Keep in mind, that when you are copying and pasting an element that salesforce adds “_0” to the end of any ‘unique’ names in your element.

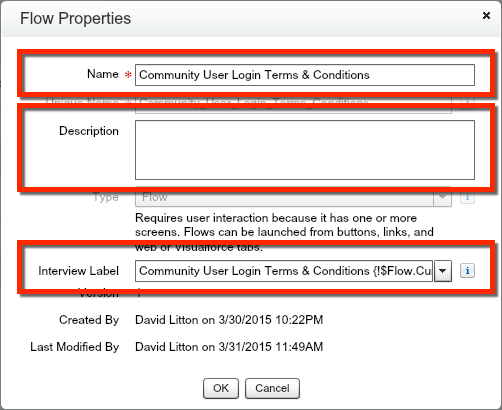
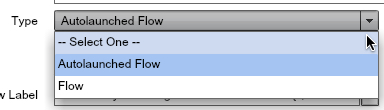
Next is the Flow Properties button! This is where you will be given a screen to be able to edit three fields: Name, Description, and Interview Label. Notice, you are unable to edit the Flow Type and the Flow’s Unique Name from this area.

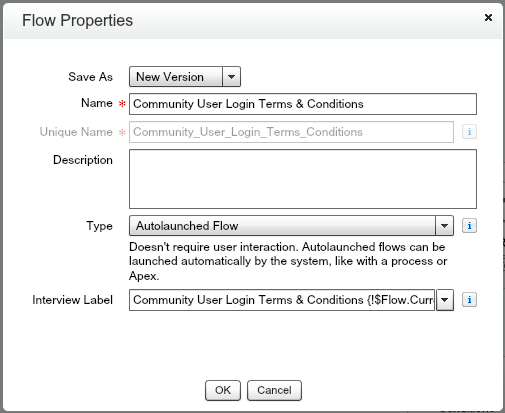
The last button we will cover is the Save As button. This gives you the same features that you have when you first Save your Flow.

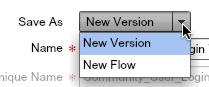
When Save As Flow you one new options. You can choose to save your Flow as a New Version or a New Flow. This was recently added and I cried tears of joy that we can now ‘clone’ our Flows.
Also, just like on your initial Save, you can choose the type of Flow that you want this to be.
RECAP: Flow Designer and Canvas is easy to master! While not everything we discussed in this post is vital for you to be proficient with Flow, understanding the layout and functions available to you in the Flow Designer will save you time. Nobody enjoys the dreaded error message when clicking Save telling you the Flow Version has been/is Active and you must click out and hit Save As to make your changes.
