If you read my post on Login Flow Default Variables, you might recall that I mentioned the ability to validate or restrict individual user’s IP Addresses. The two scenarios that I was referring to are:
- Restricting Users from logging in from an IP Address (or group of)
- Assigning IP Addresses like a Permission Set (User level, not Profile level)
Now, there are a few different approaches to how this can be done. The first option is that if we have one IP Address that a User can use, then that could be put on their User Object as a text field that the Admin manages. The second way is to use a Custom Object to manage multiple IP Addresses for each User. For this post, we are going to be going with Assigning accepted IP Addresses to Users and having multiple IP Addresses associated to a User.
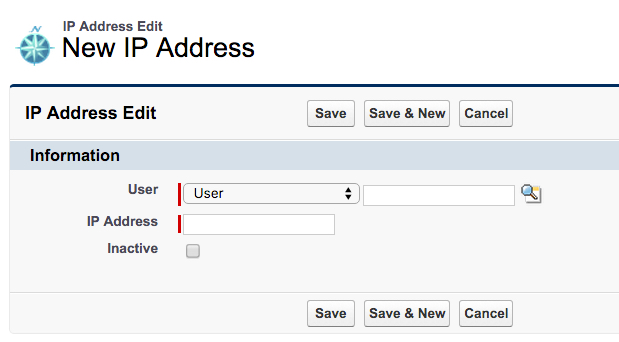
First, we will want to create a Custom Object. We will call this IP Address. We will need to create a regular Lookup to the User Object, and we will want to a checkbox called Inactive (I don’t like deleting data). Once we get the IP Ranges that are associated to a User, we can go ahead and create those Records.
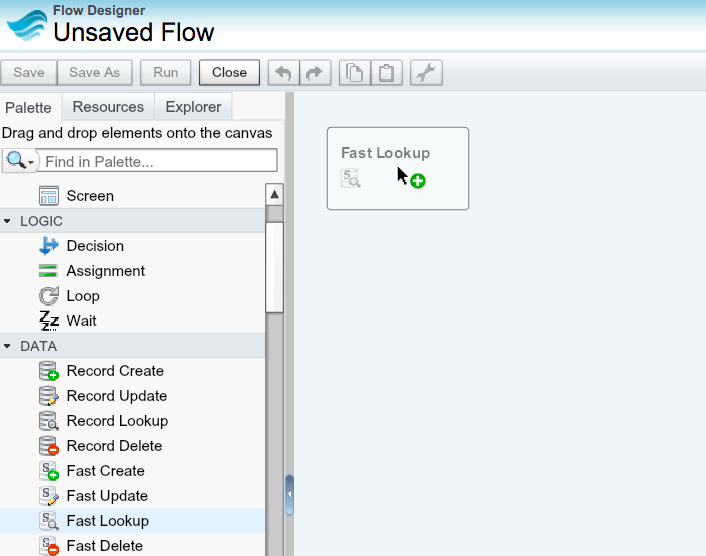
Everything is now built in the Salesforce UI that we need to build our Flow. So, lets navigate on over to our Flow.

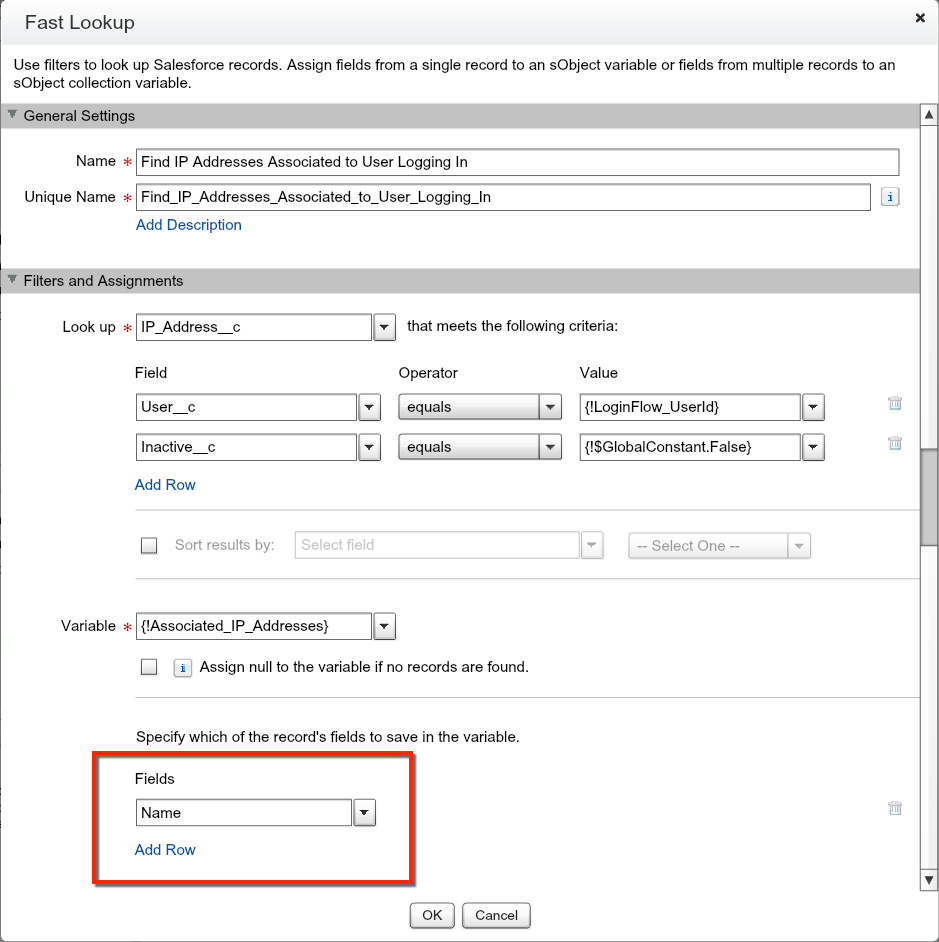
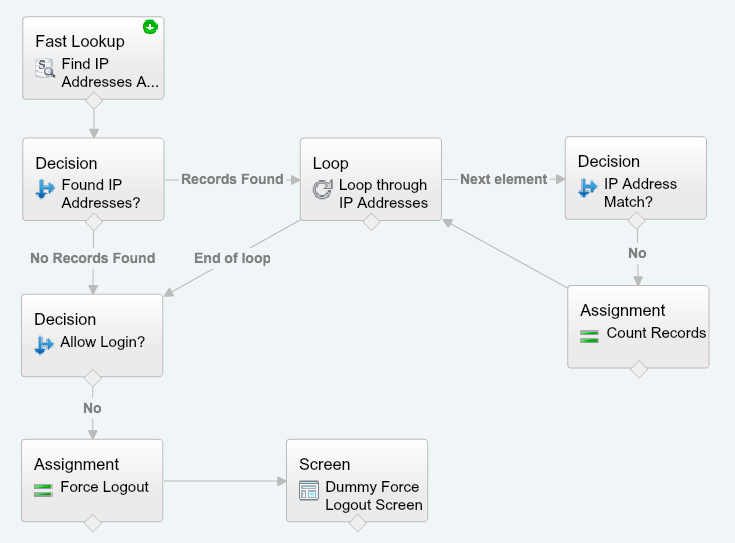
Now, the first step is going to be grabbing our Fast Lookup element so that we can query all of our IP Addresses related to the specific User that is logging in. If you want a refresher on Fast Lookups, take a look at my Learn Fast Lookups.
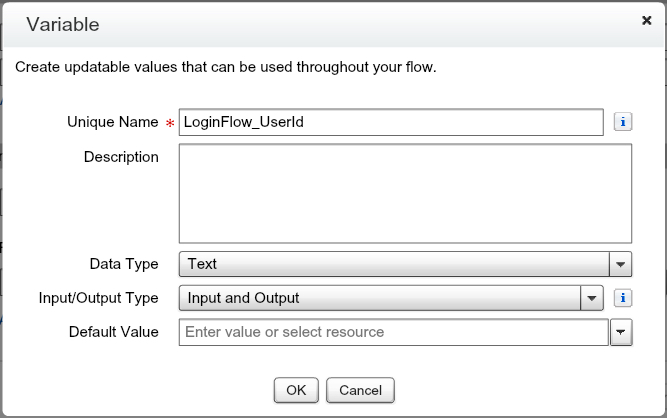
Great, now that we are in our Fast Lookup, lets start setting up our Filters and Assignments. First things first, we will need to create our UserId variable. However, because this is a Login Flow, we must use the Salesforce default variable LoginFlow_UserId. Now we can use this to filter through all of the IP Address records we have, based on the UserId and the inactive checkbox being marked as False (not checked).

Everything that meets this criteria will become our Collection of records that we can sort through. If we didn’t find a record, that means that the User doesn’t have an IP Address assignment and we can either default to send them out or into Salesforce. Now, we have to assign these records to an SObject Collection Variable.
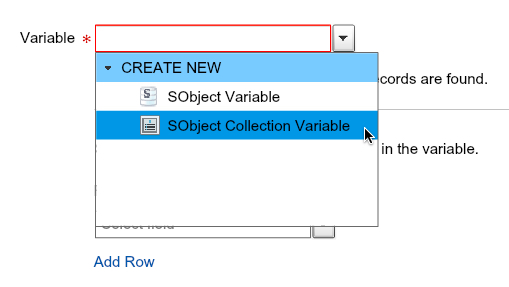
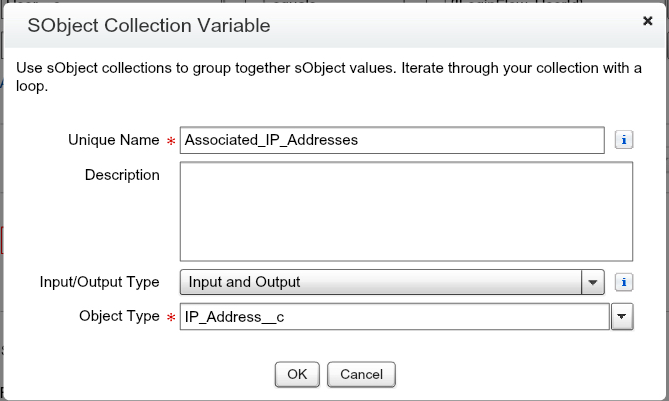
Check the “Assign null to the variable if no records are found” box. Now that we have our Collection variable setup, lets assign the ‘Name’ which is our IP Address, so that we can reference it in our Loop.
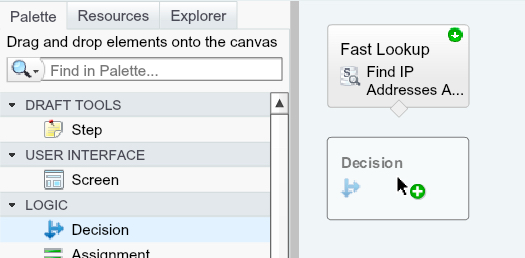
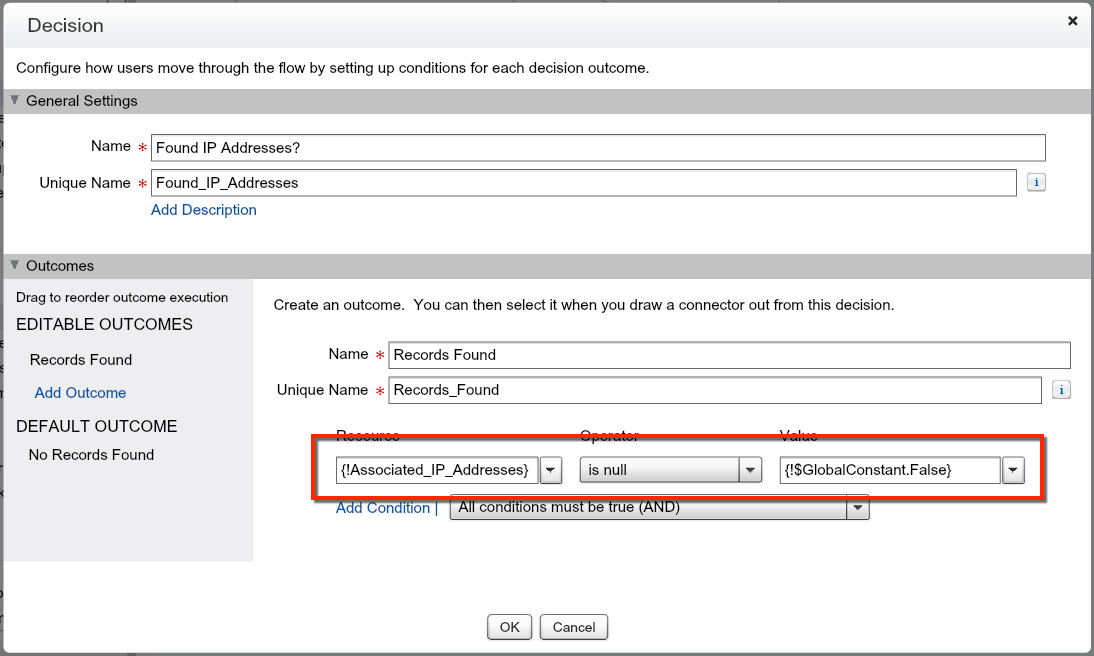
Grab the Decision element and place it below the Fast Lookup. We are going to need to see if we returned any records or not. If we don’t have any records, the Loop would cause an error to any users without an IP Address record that is active.
Our Resource is going to be our SObject Collection Variable and we are going to set the operator to ‘is null’ and the value to TRUE.
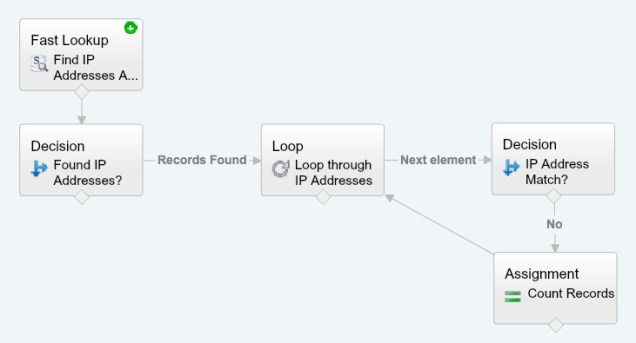
Lets now grab the Loop element.
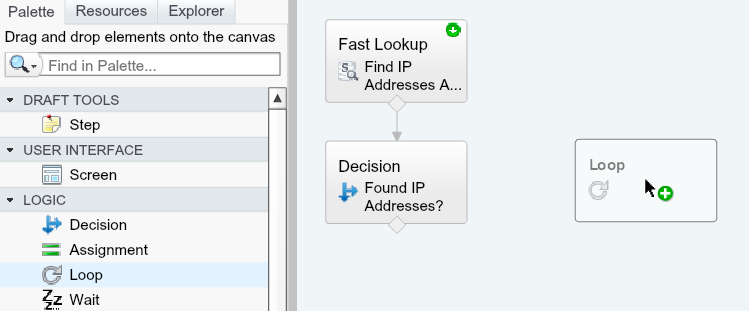
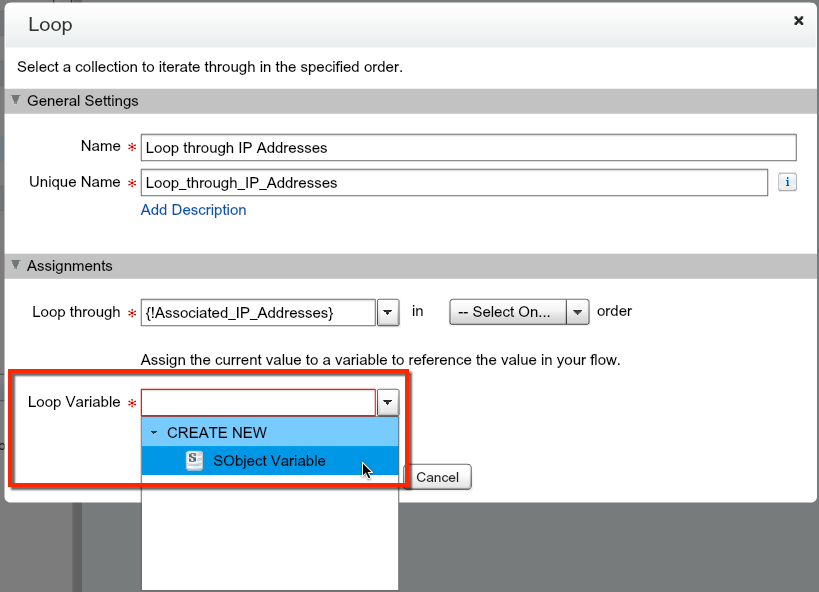
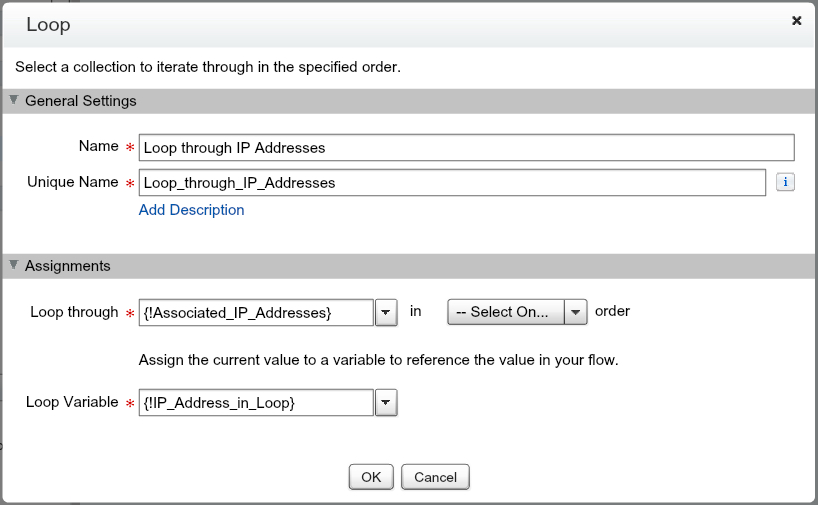
Now, lets setup our Loop to Loop through the SObject Collection Variable we just created, and create a SObject Variable to be the ‘record’ we are looping through.
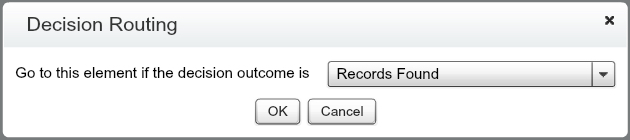
For our existing Decision element we want to drag the Records Found route and connect it to our Loop.
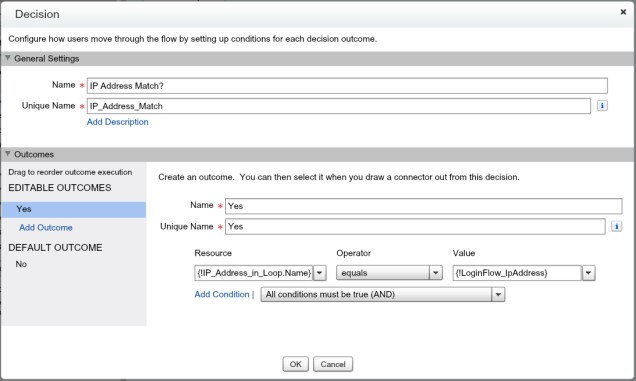
Now, we want to go drag in a Decision element that will help us determine if we have a match.
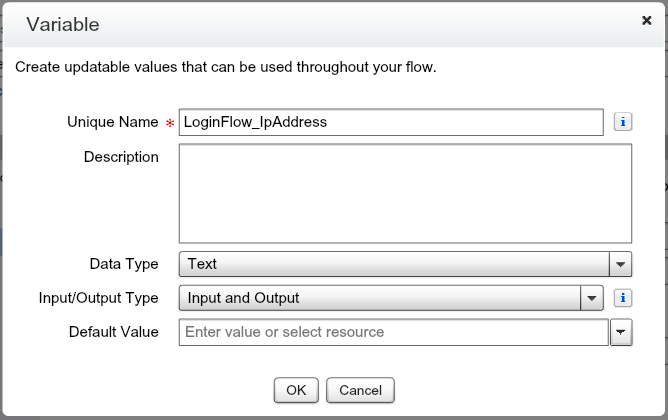
Now, lets select the “Name” field, which is our IP Address in the Looped variable. We then want to make a new variable that just like our UserId variable, is preset by Salesforce. LoginFlow_IpAddress is what we will create and set it as “Name equals LoginFlow_IpAddress”.
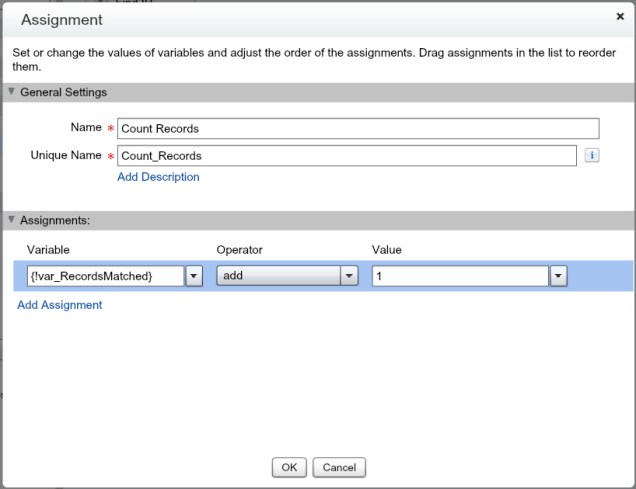
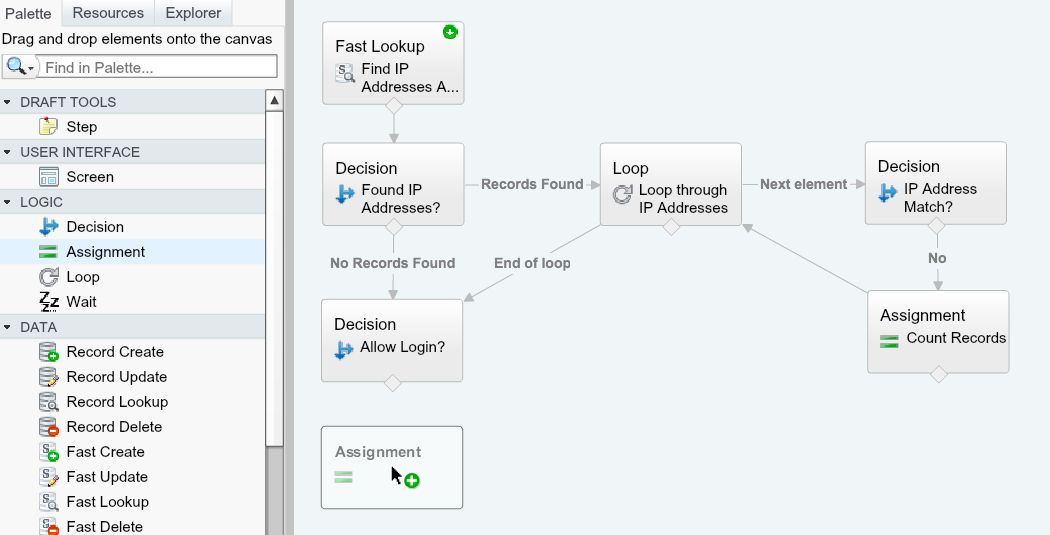
With the Decision created, grab the Assignment element onto the canvas.

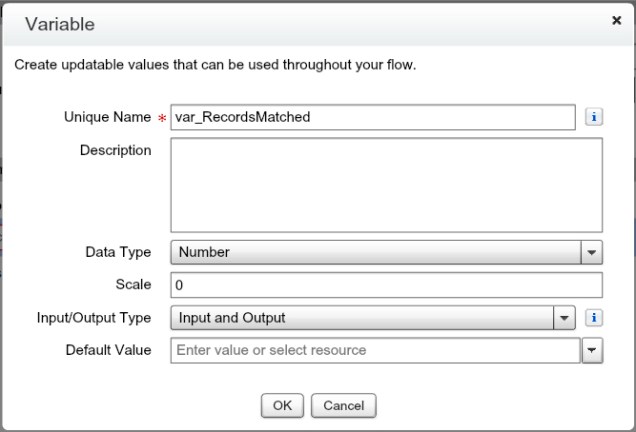
In this Assignment Element we need to create a new variable that will be our ‘counter’ for the number of records that we have passed through our Loop. So, make sure you set this as a Number Data Type and not the default Text. For each record we pass through in our Loop, we want to add 1 to the variable. This way, if there are no matches we can determine if there were even any records returned.
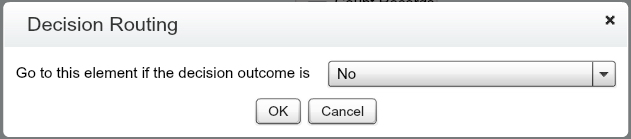
Now, if we got a Match in our Decision element, we want to do nothing. If we have an outcome of No we want to pass it to our Assignment element.
Now, we want to map the Assignment Element back to the Loop, to complete our Loop.
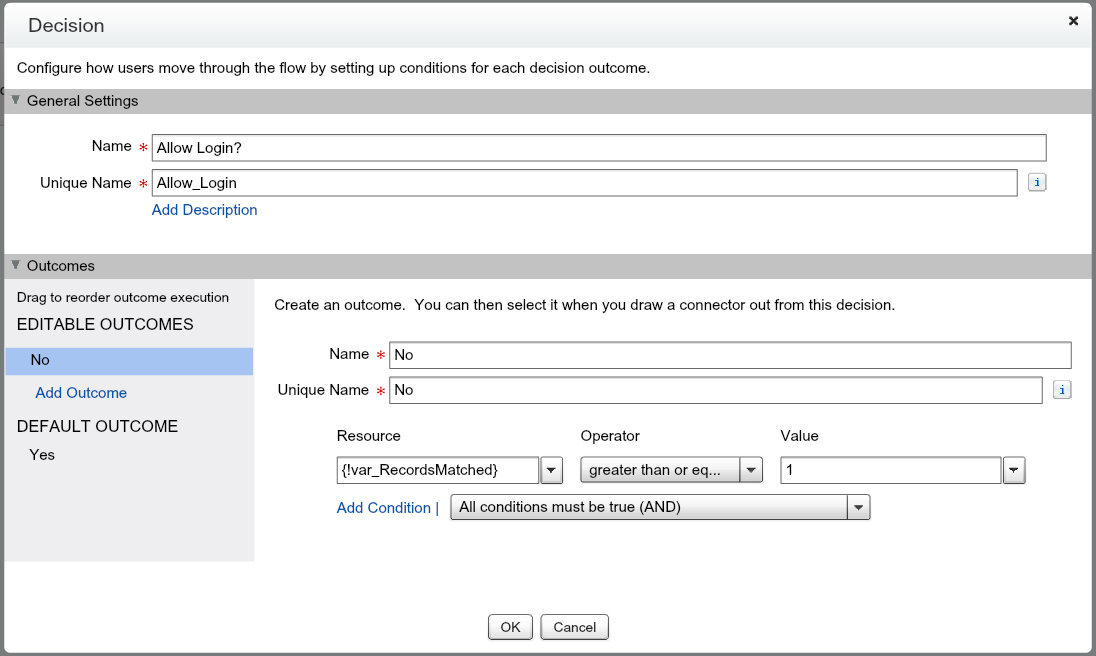
So, we have completed our Loop. Now, we need to determine what to do next. So lets think about our scenarios that are left. First, we people that do not have an IP Address match, but do not have any IP Address restrictions. Second, we have people who do not have an IP Address match, but do have restrictions. So, if someone meets our First criteria, we want to let them exit the Flow. If our variable var_RecordsMatched is greater than 0, then we want to make them exit the Flow. So that means we need to drag out the decision element.

In our decision, lets now set the criteria up for those who should be logged out from Salesforce.
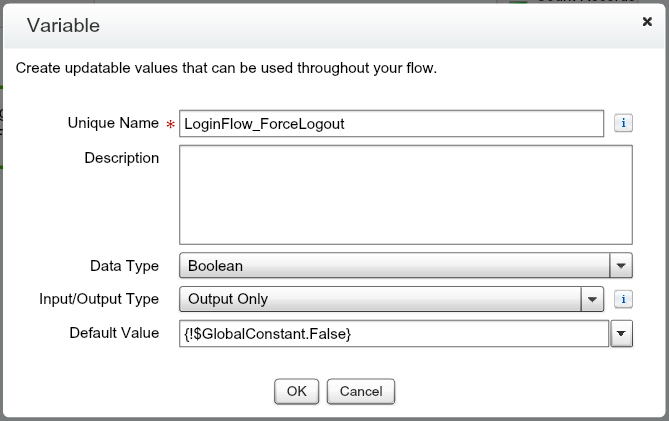
Now, if they are allowed to login, we don’t have to do anything. That was easy. However, if we need to force them to logout, we need to add one more assignment element to our Flow! This element we are going to use the default variable LoginFlow_ForceLogout. When this variable is set to TRUE, it immediately logs out the user. So, we are going to do just that with an Assignment element!
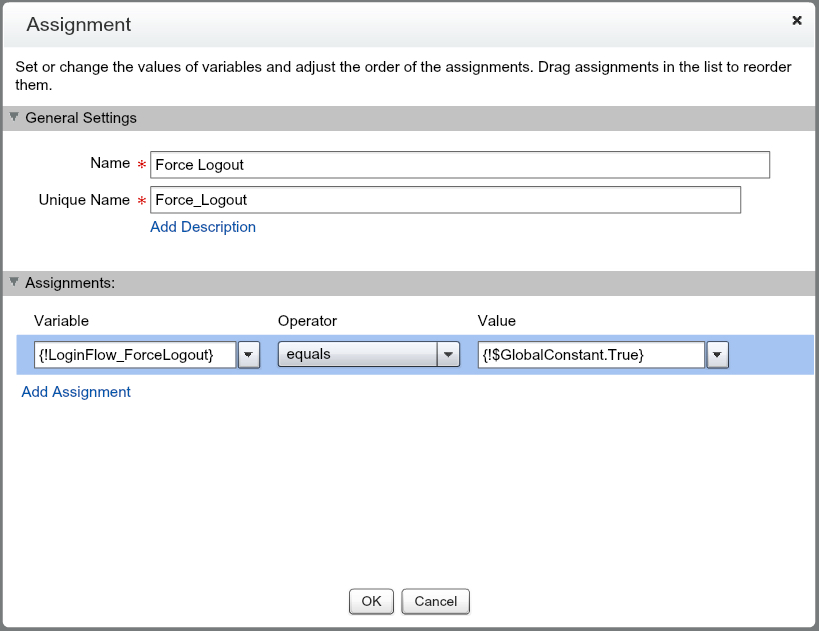
Lets create the now create our variable LoginFlow_ForceLogout. Note – this is a Boolean not Text variable.
Set the Operator to Equals and the Value to {!$GlobalConstant.True}.
Now, the tricky part is that we have to create a dummy Screen after our Assignment. If you’ve tried to pass a variable out of a Flow, you might have run into a similar situation where Salesforce is just running a Screen behind… it needs time to think. Don’t worry about what the Screen element is or says, as they will never reach it. So drag in the dummy Screen element, and lets connect them all together!
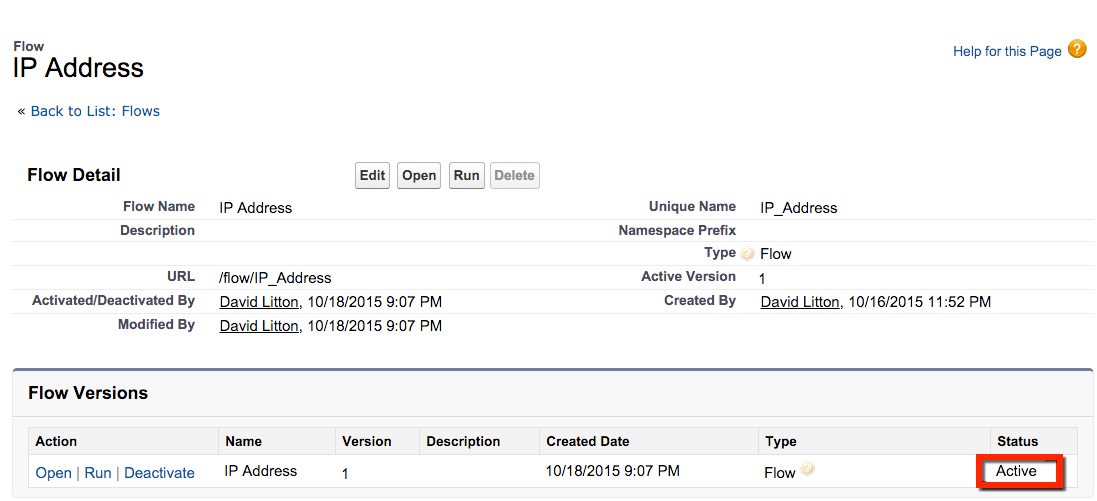
Save your Flow. An Autolaunched Flow Type will not be ‘allowed’ when you go to create the Login Flow. It doesn’t have to have any screens, it just needs to be saved as one.
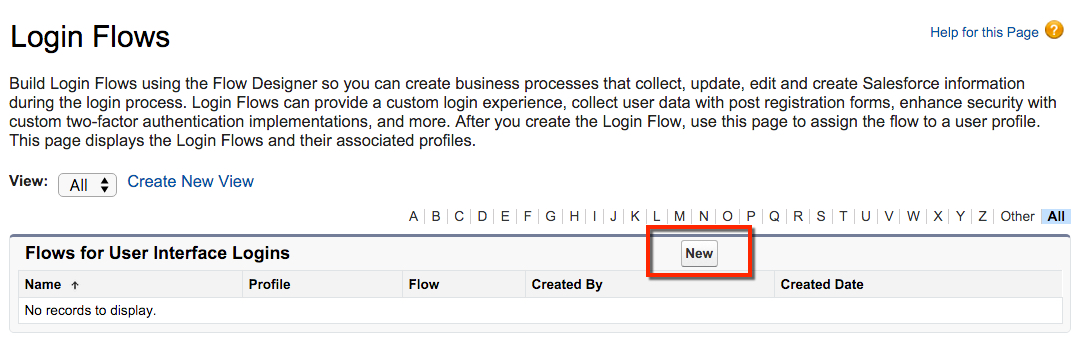
Now lets go to our Login Flows (Setup | Security Controls | Login Flows) and create a new Login Flow. Keep in mind, we can only assign one Login Flow per Profile. If you are going to use this same Flow for multiple Profiles, there will be some legwork on your part. If you are going to use this for ALL users, you have no legwork, just don’t select a Profile.
Now, put a name on your Login Flow and select the Flow we just created and the User License/Profile you want to assign this to.
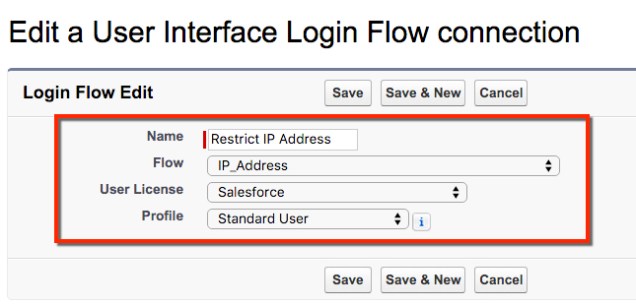
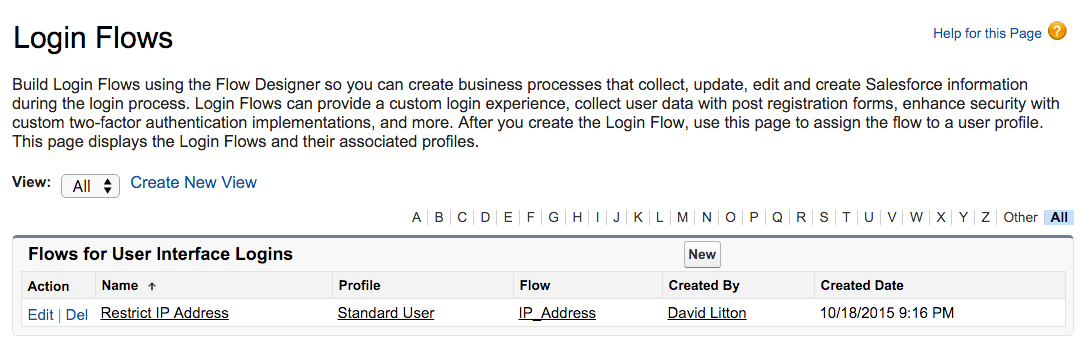
Save… and you’re done!
With Login Flows, just like all Flows, make sure you test them throughly. This is development, even though it was all done with clicks. Make sure your CEO isn’t unable to login to Salesforce because of this Login Flow not working! Also, remember how I said at the beginning of the post, you can switch this around easily to make it ‘restricted’ IP Addresses instead of ‘allowed’. Get creative to meet your company’s needs!
