Lets go over one of my least used elements! The Wait! The real reason that I never use this, is because there is never really a great need for it on many of my projects. It is important to note that a Wait element can only be used in Autolaunched Flows (a Flow with NO screens or dynamic choice elements). To me a Wait element is simply a Time-Dependent Workflow Action snapped into a Flow. You are able to setup different Event criteria and send the record to different elements based on the Event that it meets. This works very similarly to how the Decision element work.
Where is the Wait element? You can find the Wait element under the LOGIC section of the Palette.

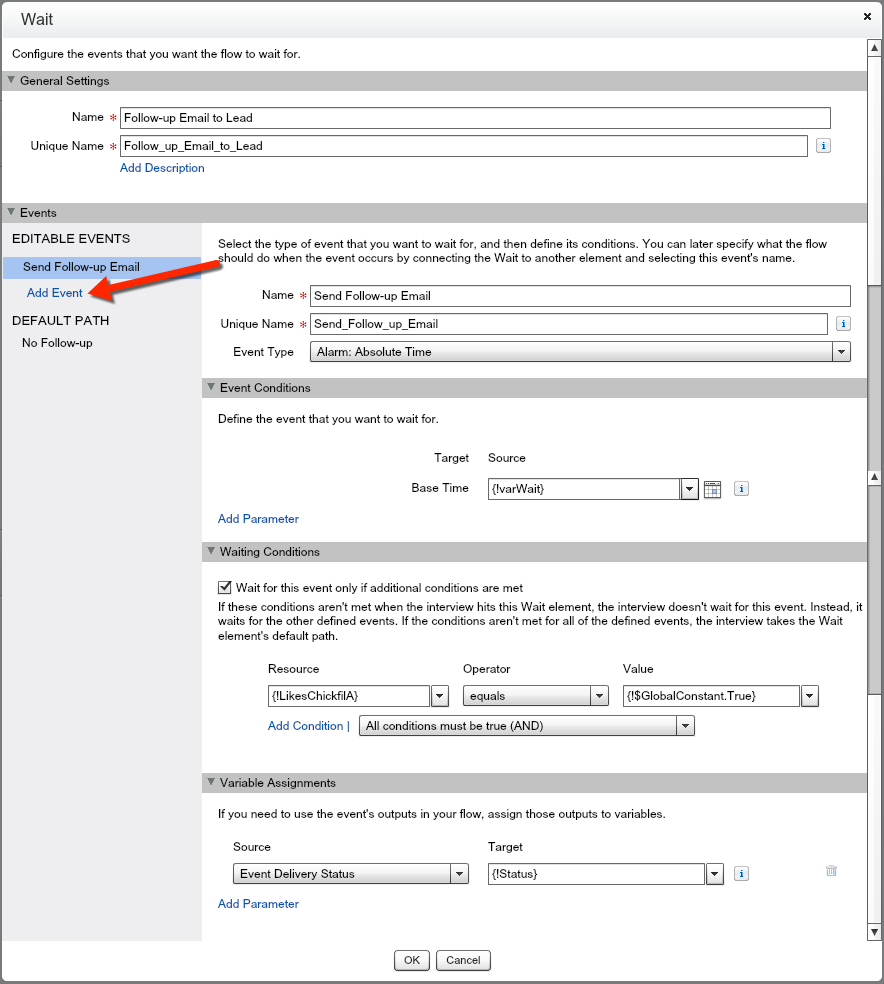
If you remember back to a Decision element, we have the ability to add additional Events to this Wait element. If you want to get really specific on what type of records in your Flow pass through the element, then this is how you could create multiple Events with different filters (aka conditions).
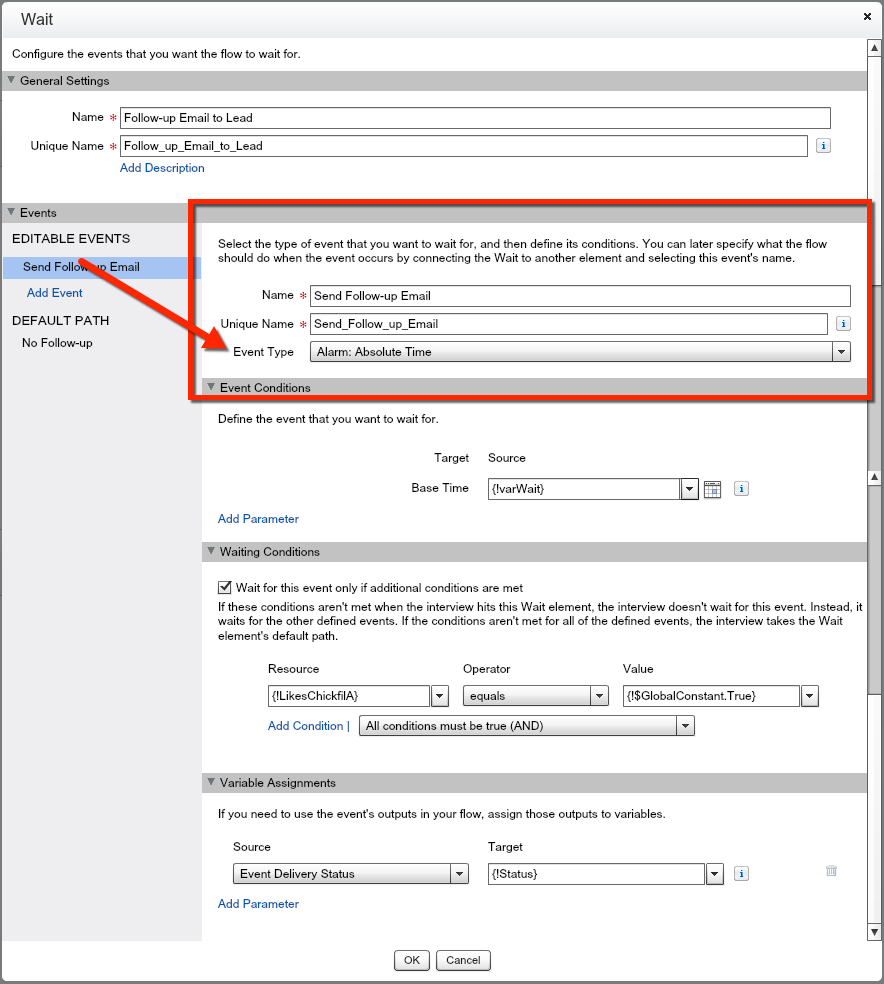
Lets determine the type of Event we want. In this case, we are going to do an Absolute Time. There is also a Relative Time Event. In Absolute Time you are simply defining the date/time you want the Event to fire from, but Relative Time is referenced from a date/time field on a record that you specify.
Let us define now what we want to wait for. There are many different options. You can have this be a set date or make it a dynamic variable. In this situation we made it a variable so that we can wait 2 weeks from the
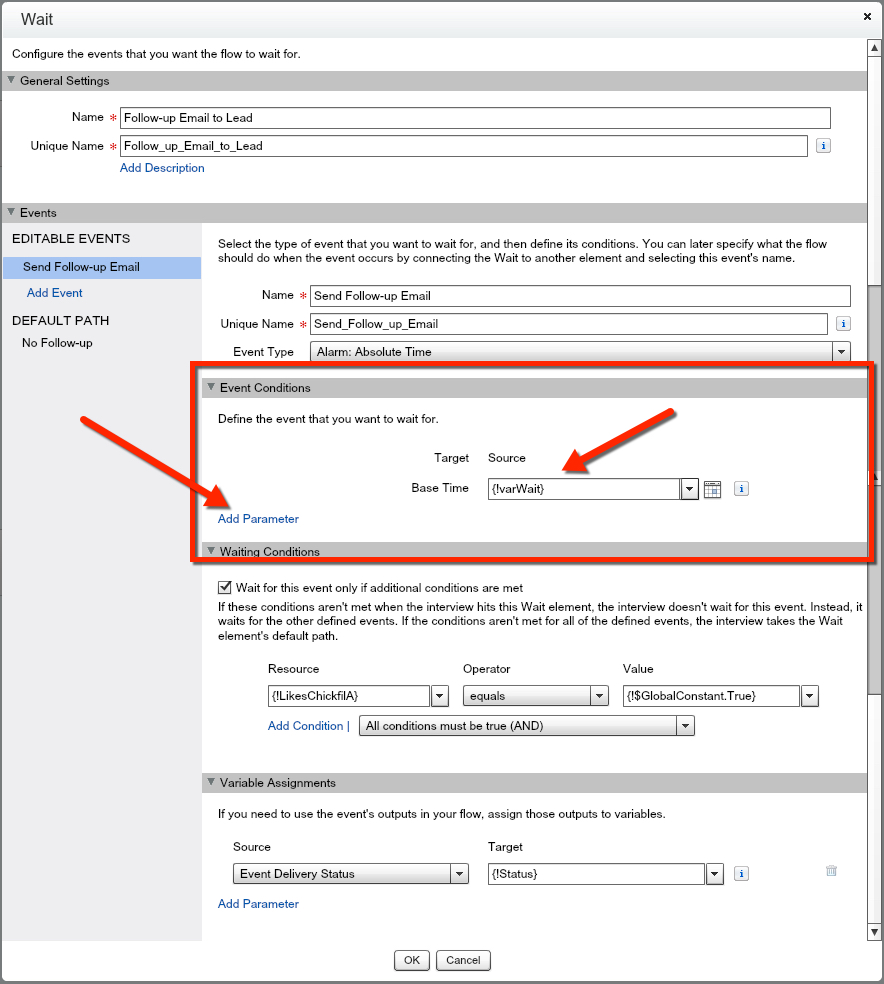
We want to utilize the Waiting Conditions or the filter criteria for this Event. In this example, we want to only send an email to Leads that like Chick-fil-A. If a Lead comes in that doesn’t like Chick-fil-A, they will be sent to the Default path and not receive an email.

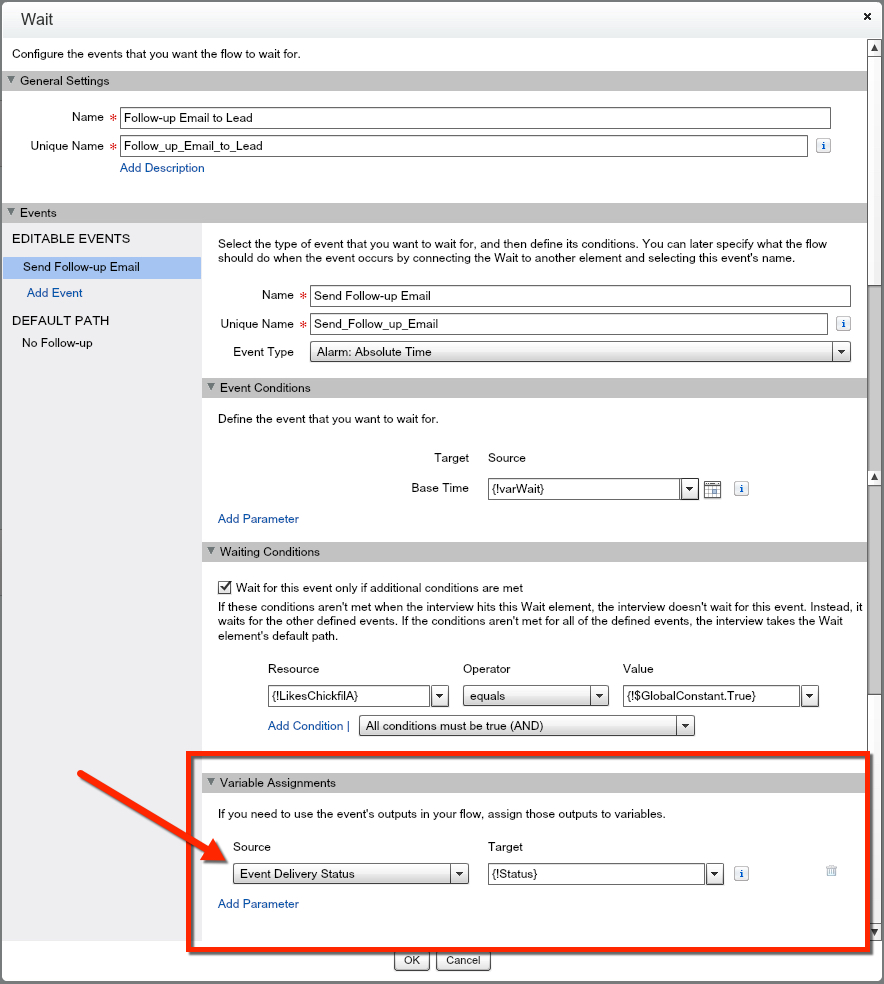
We have the option to grab either the Date/Time that the Event Alarm went off, or the Status of the Event. This is not required – but you might find this helpful to reference in other parts of your Flow.
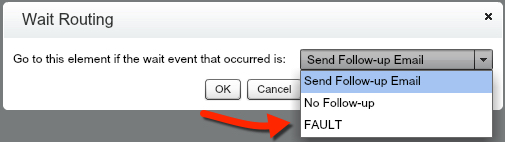
Now you have the ability to route this Wait element to multiple elements, depending on the outcome (like a Decision element).
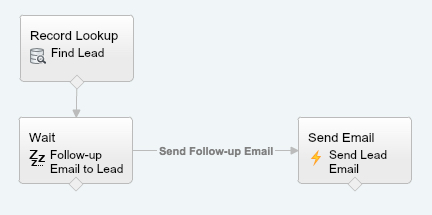
As you now can see, we are sending an email when we have a Lead meet our Event’s criteria.
RECAP: Wait elements are your Time-Dependent Workflow Actions in a Flow. They function in almost the same way. You are able to now reduce having a Flow trigger a workflow with a Time-Dependent Workflow Action and add it directly into your Flow!
